
Table of Contents >> Show >> Hide
Partitioning a thumb drive can be an incredibly useful way to organize data, especially if you need to separate files for different tasks or operating systems. Whether you’re looking to run multiple operating systems from the same USB stick or just want to organize your files more efficiently, partitioning is the key to maximizing your thumb drive’s potential. In this article, we’ll walk you through three different methods for partitioning a thumb drive on both Windows and Mac systems.
Why Partition a Thumb Drive?
Before diving into the different methods, let’s take a quick look at why you might want to partition your thumb drive in the first place. Partitioning essentially splits a single storage device into multiple sections, each of which acts like its own drive. This is useful for a variety of reasons:
- Multi-boot setups: You can install multiple operating systems on the same thumb drive, allowing you to boot into different environments as needed.
- Organizational purposes: If you need to keep work files separate from personal files, or have a dedicated space for system backups, partitioning allows you to do that with ease.
- Data security: If one partition becomes corrupted, the others are less likely to be affected, giving you an extra layer of protection.
Method 1: Using Windows Disk Management
Windows has a built-in tool for managing disk partitions called Disk Management. This tool is relatively straightforward and offers an intuitive interface for creating and managing partitions on your thumb drive.
Step-by-Step Instructions
- Insert your thumb drive into your computer.
- Press Win + X and select Disk Management from the menu.
- Locate your thumb drive in the lower section of the window. It should be listed as “Removable” or “Unallocated.”
- Right-click on the unallocated space and select New Simple Volume.
- Follow the wizard to specify the size of the partition and choose a file system (NTFS is the most common for Windows).
- Click Finish to complete the process. Your thumb drive will now have a new partition!
This method is best for users who are comfortable with Windows’ built-in tools. It provides a simple, no-frills approach to partitioning without the need for third-party software.
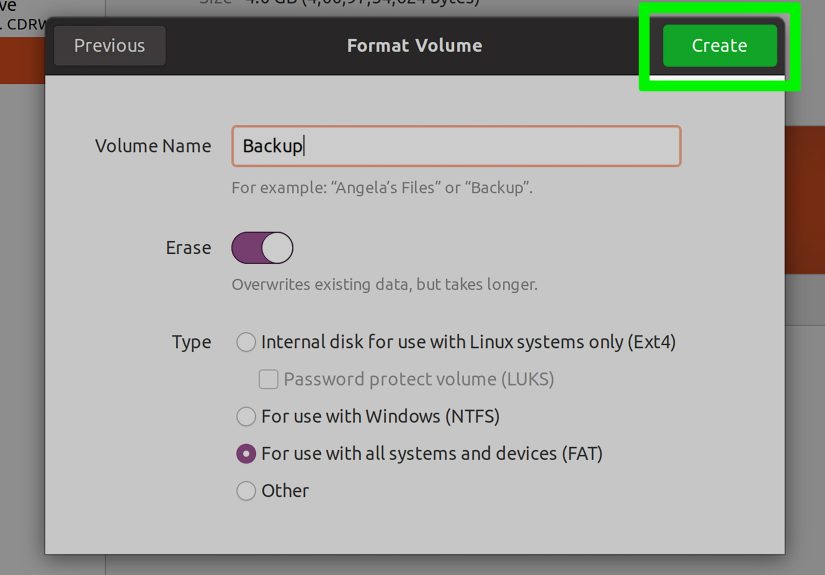
Method 2: Using Disk Utility on macOS
Mac users can take advantage of the built-in Disk Utility application to partition their thumb drives. This tool is easy to use and offers more flexibility than the basic Windows tool, especially if you want to format your thumb drive in multiple file systems (such as exFAT or HFS+).
Step-by-Step Instructions
- Insert your thumb drive into your Mac.
- Open Disk Utility (you can find it by searching in Spotlight or going to Applications > Utilities).
- Select your thumb drive from the left sidebar.
- Click on the Partition button at the top.
- Click the “+” button to add a new partition.
- Specify the size of the partition and select the file system format (exFAT is a good choice for cross-platform compatibility).
- Click Apply to finish the partitioning process.
This method is great for Mac users, as it provides a simple interface and gives you the option to format the partition in several different file systems.
Method 3: Using Third-Party Software
If you’re looking for more control over your partitions or need to partition a thumb drive with multiple operating systems, third-party software might be the way to go. Programs like EaseUS Partition Master, MiniTool Partition Wizard, and GParted are popular options for both Windows and Mac users.
Step-by-Step Instructions
- Download and install your preferred partitioning software (EaseUS Partition Master, for example, is free for basic use).
- Launch the program and select your thumb drive from the list of available disks.
- Choose the option to create a new partition or resize an existing one.
- Specify the size and format of the partition, then click Apply to make the changes.
This method is ideal if you want more advanced features, such as partition recovery, formatting in multiple file systems, or the ability to resize partitions without losing data. Many of these programs also support creating bootable drives, which can be useful for tech enthusiasts or developers.
Additional Tips and Considerations
- Always back up your data: Partitioning a thumb drive can sometimes lead to data loss if something goes wrong. Be sure to back up any important files before proceeding with partitioning.
- Choose the right file system: NTFS is great for Windows users, but if you plan to use your thumb drive on both Mac and Windows systems, exFAT is the most compatible option.
- Be mindful of your thumb drive’s storage capacity: Keep in mind that partitioning a thumb drive reduces the available space for each partition. Make sure to allocate enough space for your needs.
Conclusion
Partitioning a thumb drive is a simple process that can help organize your files, improve data security, and even allow you to run multiple operating systems. Whether you’re using the built-in tools on Windows or macOS, or turning to third-party software for advanced features, partitioning is a great way to get the most out of your thumb drive. By following the steps above, you’ll be able to efficiently partition your drive for whatever purposes you have in mind.
Personal Experience with Partitioning Thumb Drives
As someone who regularly works with external storage devices, partitioning thumb drives has been an absolute game changer for me. For instance, I use my thumb drive for both work and personal files, and keeping these separate through partitions has saved me plenty of headache when organizing my data. One of my favorite uses of partitioning is creating a dual-boot thumb drive, where I install Linux and Windows. This way, I can carry my operating systems with me, making it perfect for troubleshooting or testing purposes.
While partitioning can seem intimidating at first, with the right tools, it’s surprisingly easy to do. I remember my first attempt with Windows’ built-in Disk Management toolalthough the process was a bit slow, it worked perfectly for creating a clean and efficient partition. It was the best decision for making the most out of my USB drive’s storage space.
For Mac users, the Disk Utility tool has been a reliable option for me too. The graphical interface makes it clear where each partition is located, which helps a lot in avoiding errors. Plus, the ability to select different file formats for each partition has been helpful for managing files that I need to use across both Mac and Windows systems. It’s particularly handy for sharing large files like videos or project files that might not be compatible with one file system format.
Lastly, I’ve experimented with third-party software like EaseUS Partition Master when I needed more flexibility. Whether resizing partitions or creating bootable drives, this tool made it easier to handle advanced tasks. However, I would recommend these tools for users who have some experience with partitioning, as they offer more control but can be a bit overwhelming for beginners.
In conclusion, partitioning a thumb drive has become an essential skill in my day-to-day workflow. With the right knowledge and tools, it’s easy to organize data, safeguard important files, and even make your thumb drive work for multiple systems. If you haven’t tried it yet, I highly recommend giving it a goyou’ll wonder how you ever managed without it!


