
Table of Contents >> Show >> Hide
Accidents happenwhether you’re cleaning, handling bleach, or simply enjoying a relaxed moment in your home, a bleach spot on your beloved rug can feel like the end of the world. But don’t worry! You don’t have to throw away your rug just yet. With a few simple steps and a little creativity, you can fix bleach spots quickly and easily. This guide will walk you through five essential steps for fixing a bleach-spotted rug, giving it new life while keeping things stress-free.
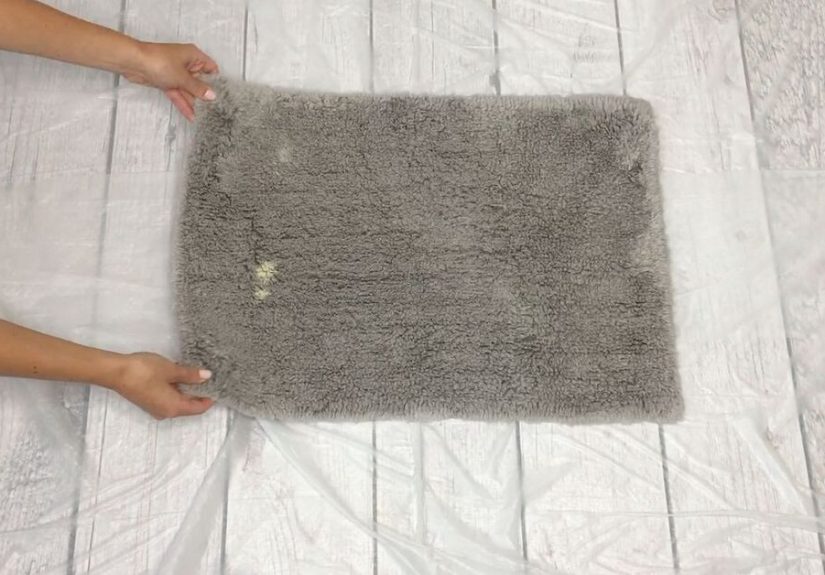
Step 1: Assess the Damage and Gather Supplies
The first step in fixing a bleach spot on your rug is assessing the damage. Is the bleach stain large or small? Is it isolated to one area, or is it more widespread? Understanding the extent of the stain will help you decide on the best approach to fix it. Once you’ve evaluated the damage, gather your supplies. You’ll need the following:
- Rug dye or fabric paint
- Small brush or sponge
- Water and a clean cloth
- Plastic wrap
- Gloves (optional but recommended)
These supplies will help you restore the rug to its original color, covering up the bleach stains while blending them into the overall design of the rug.
Step 2: Clean the Affected Area
Before you start applying dye or fabric paint, it’s crucial to clean the affected area thoroughly. Grab a damp cloth and gently blot the bleach spot to remove any excess bleach or debris. Avoid scrubbing, as this can push the bleach further into the fibers of the rug. After blotting, let the area dry completely. Once dry, you’ll have a clean surface to work on, which helps the dye or fabric paint adhere better.
Step 3: Match the Dye Color
Now that you’ve cleaned the area, it’s time to match the color of the rug with dye or fabric paint. This part can be a little tricky, but don’t panic. You’ll want to find a dye or fabric paint that closely matches the rug’s existing color. If you’re dealing with a patterned rug, you may need to use multiple colors to blend in with the existing design.
Test the dye on a small, inconspicuous part of the rug before applying it to the bleach spot. This ensures that the color is accurate and that it won’t damage the rug further. Once you’re satisfied with the color match, use a small brush or sponge to apply the dye to the bleach spot. Dab the dye on gently, blending it into the surrounding area. You may need to apply several layers to get the perfect match.
Step 4: Let the Dye Dry and Set
Once you’ve applied the dye, it’s important to let it dry properly. Place plastic wrap or a plastic bag over the dyed area to prevent anything from touching it while it sets. Allow the dye to dry according to the manufacturer’s instructions, which usually take between 2-4 hours. Be patientthis step is crucial for a long-lasting repair!
Once the dye is dry, check the color again. If you need to blend the edges further, lightly touch up the area with a little more dye. Make sure the repair is seamless before moving on to the next step.
Step 5: Rinse and Restore the Texture
After the dye has dried and you’re happy with the color, it’s time to restore the texture of the rug. Rinsing the dyed area with water will help remove any excess dye and prevent it from rubbing off onto your feet or furniture. After rinsing, use a clean cloth to blot the area gently, then allow the rug to air dry completely.
If the rug’s texture looks a bit stiff or matted after the repair, gently brush it with a soft brush to fluff up the fibers. This will help your rug look as good as new!
Bonus Tip: Prevent Future Bleach Spots
To avoid bleach spots in the future, be extra cautious when using bleach near rugs. If you’re cleaning, always place a protective cover under any cleaning supplies to catch accidental spills. If possible, opt for color-safe bleach alternatives for a more forgiving clean. Keeping these precautions in mind will help ensure your rug stays looking beautiful for years to come!
Real-Life Experience: Fixing Bleach Spotted Rugs
As someone who’s been through the struggles of a bleach spot on a rug, I can tell you that it doesn’t have to be a nightmare. After my first bleach incident (let’s just say I wasn’t careful during a deep cleaning spree), I felt the dread sink in as I saw a massive bleach spot on my otherwise flawless area rug. I initially thought I’d have to replace the rug, but then I decided to give DIY repair a shot.
The hardest part for me was finding the right dye that matched my rug’s exact color. After visiting a few craft stores and testing out some fabric dyes, I found the perfect match. What was amazing was how well the rug blended back together. The dye covered the bleach spot without being obvious, and when the rug dried, it felt just like it had before the mishap.
What I love most about this fix is how simple it is. You don’t need to be an expert in rug repair or fabric art to get the job done. With just a little patience, you can restore your rug’s beauty without breaking the bank or having to toss it out. Plus, knowing that you fixed it yourself gives a sense of accomplishment!
If you’ve ever found yourself in a similar situation, I highly recommend giving these steps a try. Whether it’s a small bleach spot or something more noticeable, these five steps will help you restore your rug with ease. It’s a simple DIY project that anyone can do, and your rug will look as good as new!
Conclusion
In conclusion, a bleach spot doesn’t have to be the end of your rug. With the right tools and techniques, you can easily restore it to its former glory. By following these five simple stepscleaning, dyeing, letting the dye set, rinsing, and fluffing up the fibersyou can fix bleach spots in no time. Plus, it’s a satisfying and cost-effective DIY project. Remember, your rug can look as good as new with just a little effort!


