
Table of Contents >> Show >> Hide
- Why Should You Clean a New Water Bottle?
- Method 1: Use Warm, Soapy Water
- Method 2: Vinegar and Baking Soda
- Method 3: Use a Bottle Cleaning Tablet
- Method 4: Use Hydrogen Peroxide
- Method 5: Use a Dishwasher
- Method 6: Deep Clean with a Brush and Cleaning Solution
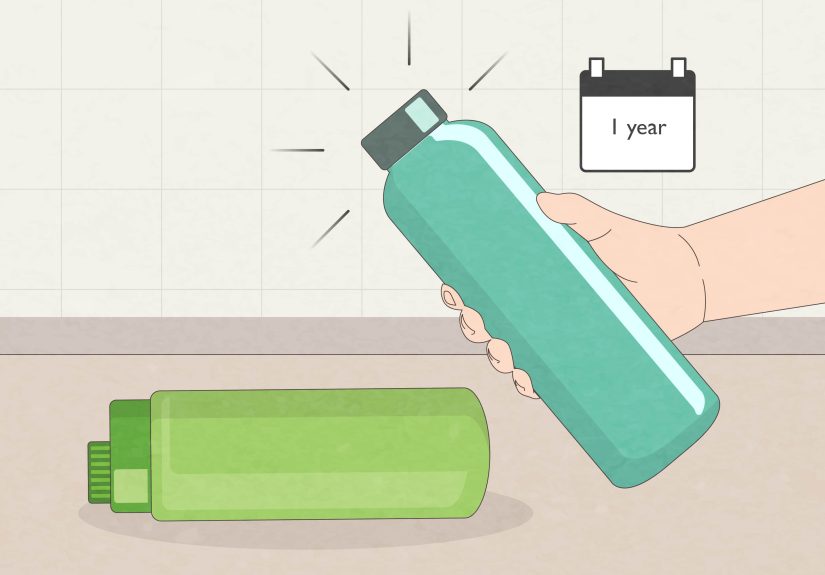
- Additional Tips for Maintaining a Clean Water Bottle
- Conclusion
- Personal Experience: My Journey with Cleaning New Water Bottles
When you first purchase a new water bottle, the excitement of having a fresh, reusable vessel to keep you hydrated is palpable. However, before you take that first sip, it’s essential to ensure your water bottle is properly cleaned. New bottles, regardless of their material, can carry dust, manufacturing residues, or even bacteria from the packaging and shipping process. In this article, we’ll guide you through six effective methods to clean out a new water bottle, ensuring that your hydration journey begins on a clean note.
Why Should You Clean a New Water Bottle?
Cleaning your new water bottle is not just about aesthetic reasons. Bottles can come into contact with various contaminants during manufacturing, packaging, and transportation. These may include leftover chemicals, dust particles, or bacteria that can make your first use less than ideal. Proper cleaning before use removes these potential hazards, ensuring that the bottle remains safe to use and prolongs its lifespan. Let’s dive into the best ways to clean your new water bottle and prepare it for daily use.
Method 1: Use Warm, Soapy Water
The most straightforward and effective way to clean a new water bottle is by using warm, soapy water. This method is perfect for removing dust, residue, and bacteria.
- Step 1: Fill the bottle with warm water.
- Step 2: Add a few drops of mild dish soap. Avoid using harsh detergents or bleach, as they can affect the material and leave an unpleasant taste.
- Step 3: Use a bottle brush or sponge to scrub the inside of the bottle thoroughly.
- Step 4: Rinse the bottle well to ensure no soap residue is left behind.
This method works well for most water bottles made of plastic, glass, or stainless steel. Just ensure you rinse thoroughly to avoid any soap taste in your drink!
Method 2: Vinegar and Baking Soda
If you’re dealing with stubborn odors or tough residue, a combination of vinegar and baking soda can be your secret weapon. This natural cleaning solution is especially useful for removing lingering smells and disinfecting the bottle.
- Step 1: Add 1-2 tablespoons of baking soda into the bottle.
- Step 2: Pour in a cup of white vinegar. Watch as the mixture fizzles up! This reaction helps loosen grime.
- Step 3: Let the mixture sit for 10-15 minutes.
- Step 4: Scrub the inside with a bottle brush, focusing on the corners.
- Step 5: Rinse the bottle thoroughly to remove all traces of vinegar and baking soda.
Not only does this method clean effectively, but it also eliminates odors that can sometimes linger in new bottles.
Method 3: Use a Bottle Cleaning Tablet
If you’re looking for a quick and easy method, water bottle cleaning tablets are an excellent option. These effervescent tablets are specifically designed to clean water bottles and help eliminate germs and odors without much scrubbing.
- Step 1: Fill your bottle with warm water.
- Step 2: Drop a cleaning tablet into the water and let it dissolve.
- Step 3: Allow the bottle to soak for about 10-15 minutes.
- Step 4: After soaking, give the bottle a quick scrub, rinse it thoroughly, and dry it.
Cleaning tablets are especially handy when you’re in a rush and need a fast, no-fuss solution.
Method 4: Use Hydrogen Peroxide
Hydrogen peroxide is an effective disinfectant that can help clean and sanitize your new water bottle. This method is particularly useful for bottles made of plastic or stainless steel.
- Step 1: Fill the bottle with water.
- Step 2: Add a tablespoon of hydrogen peroxide to the water.
- Step 3: Allow the mixture to sit for 5-10 minutes to disinfect the bottle.
- Step 4: Scrub the bottle, paying attention to any crevices or hard-to-reach areas.
- Step 5: Rinse the bottle thoroughly with warm water to remove any residual hydrogen peroxide.
Be sure to dilute the hydrogen peroxide with water, and never use it in excessive amounts, as it can damage some materials.
Method 5: Use a Dishwasher
Many modern water bottles are dishwasher-safe, making it easy to clean them with minimal effort. If your bottle is labeled as dishwasher-safe, this method is a convenient choice.
- Step 1: Check your bottle’s label to ensure it’s dishwasher-safe.
- Step 2: Place the bottle and its components (lid, straw, etc.) on the top rack of the dishwasher.
- Step 3: Run a cycle on the gentle or normal setting, using a mild detergent.
- Step 4: After the cycle is complete, let the bottle air dry before use.
Using a dishwasher is the most hassle-free option if you want to clean your water bottle without scrubbing, especially for bottles with removable components.
Method 6: Deep Clean with a Brush and Cleaning Solution
For a more thorough cleaning, especially for bottles with narrow openings, you might need to use a specialized bottle brush and cleaning solution. This method ensures every part of your bottle, including hard-to-reach areas, is sanitized.
- Step 1: Get a bottle brush with long bristles designed to fit into the narrow neck of your bottle.
- Step 2: Fill the bottle with warm water and add a cleaning solution of your choice (dish soap, vinegar, or a store-bought cleaner).
- Step 3: Use the bottle brush to scrub the entire interior of the bottle, making sure to clean the bottom, sides, and neck.
- Step 4: Rinse thoroughly to remove any remaining cleaning solution.
Deep cleaning is an excellent method if you’re concerned about sanitation, or if your bottle has a particularly strong odor or residue.
Additional Tips for Maintaining a Clean Water Bottle
While cleaning a new water bottle is important, regular maintenance is key to ensuring that your bottle stays fresh and free from bacteria:
- Wash regularly: Clean your water bottle after each use to prevent buildup of bacteria and odors.
- Dry thoroughly: After cleaning, allow your bottle to air dry completely to avoid mold growth.
- Disinfect occasionally: Even if your bottle looks clean, it’s a good idea to deep clean or disinfect it periodically, especially if it’s used to store beverages other than water.
- Store with the cap off: When not in use, store your bottle with the cap off to let it breathe and dry out completely.
Conclusion
Starting off with a clean water bottle ensures that you get the best hydration experience without any unwanted chemicals, odors, or bacteria. Whether you choose to use soapy water, vinegar and baking soda, cleaning tablets, or other methods, the key is consistency. Regular cleaning not only ensures hygiene but also prolongs the life of your bottle. So go ahead, get your bottle squeaky clean, and enjoy your next sip with peace of mind!
SEO Tags
Personal Experience: My Journey with Cleaning New Water Bottles
As someone who is always on the lookout for the best water bottles, I have tried my fair share of cleaning techniques. When I first got my stainless steel water bottle, I was excited but also a little apprehensive about using it without cleaning it first. I decided to go with the classic methodwarm soapy water. To my surprise, I noticed a small amount of residue inside, even though the bottle was brand new. After a good scrubbing, the bottle was sparkling clean. The next time I used it, I noticed no odd smells or aftertaste, which confirmed the effectiveness of the cleaning method. Since then, I’ve incorporated vinegar and baking soda into my cleaning routine for occasional deep cleans, and it’s made a huge difference in maintaining both cleanliness and odor-free hydration.


